
Taping guide
How to tape it properly
Five wraps that cover most of what an athlete needs. No prior experience assumed, and each takes under two minutes once you have done it twice.
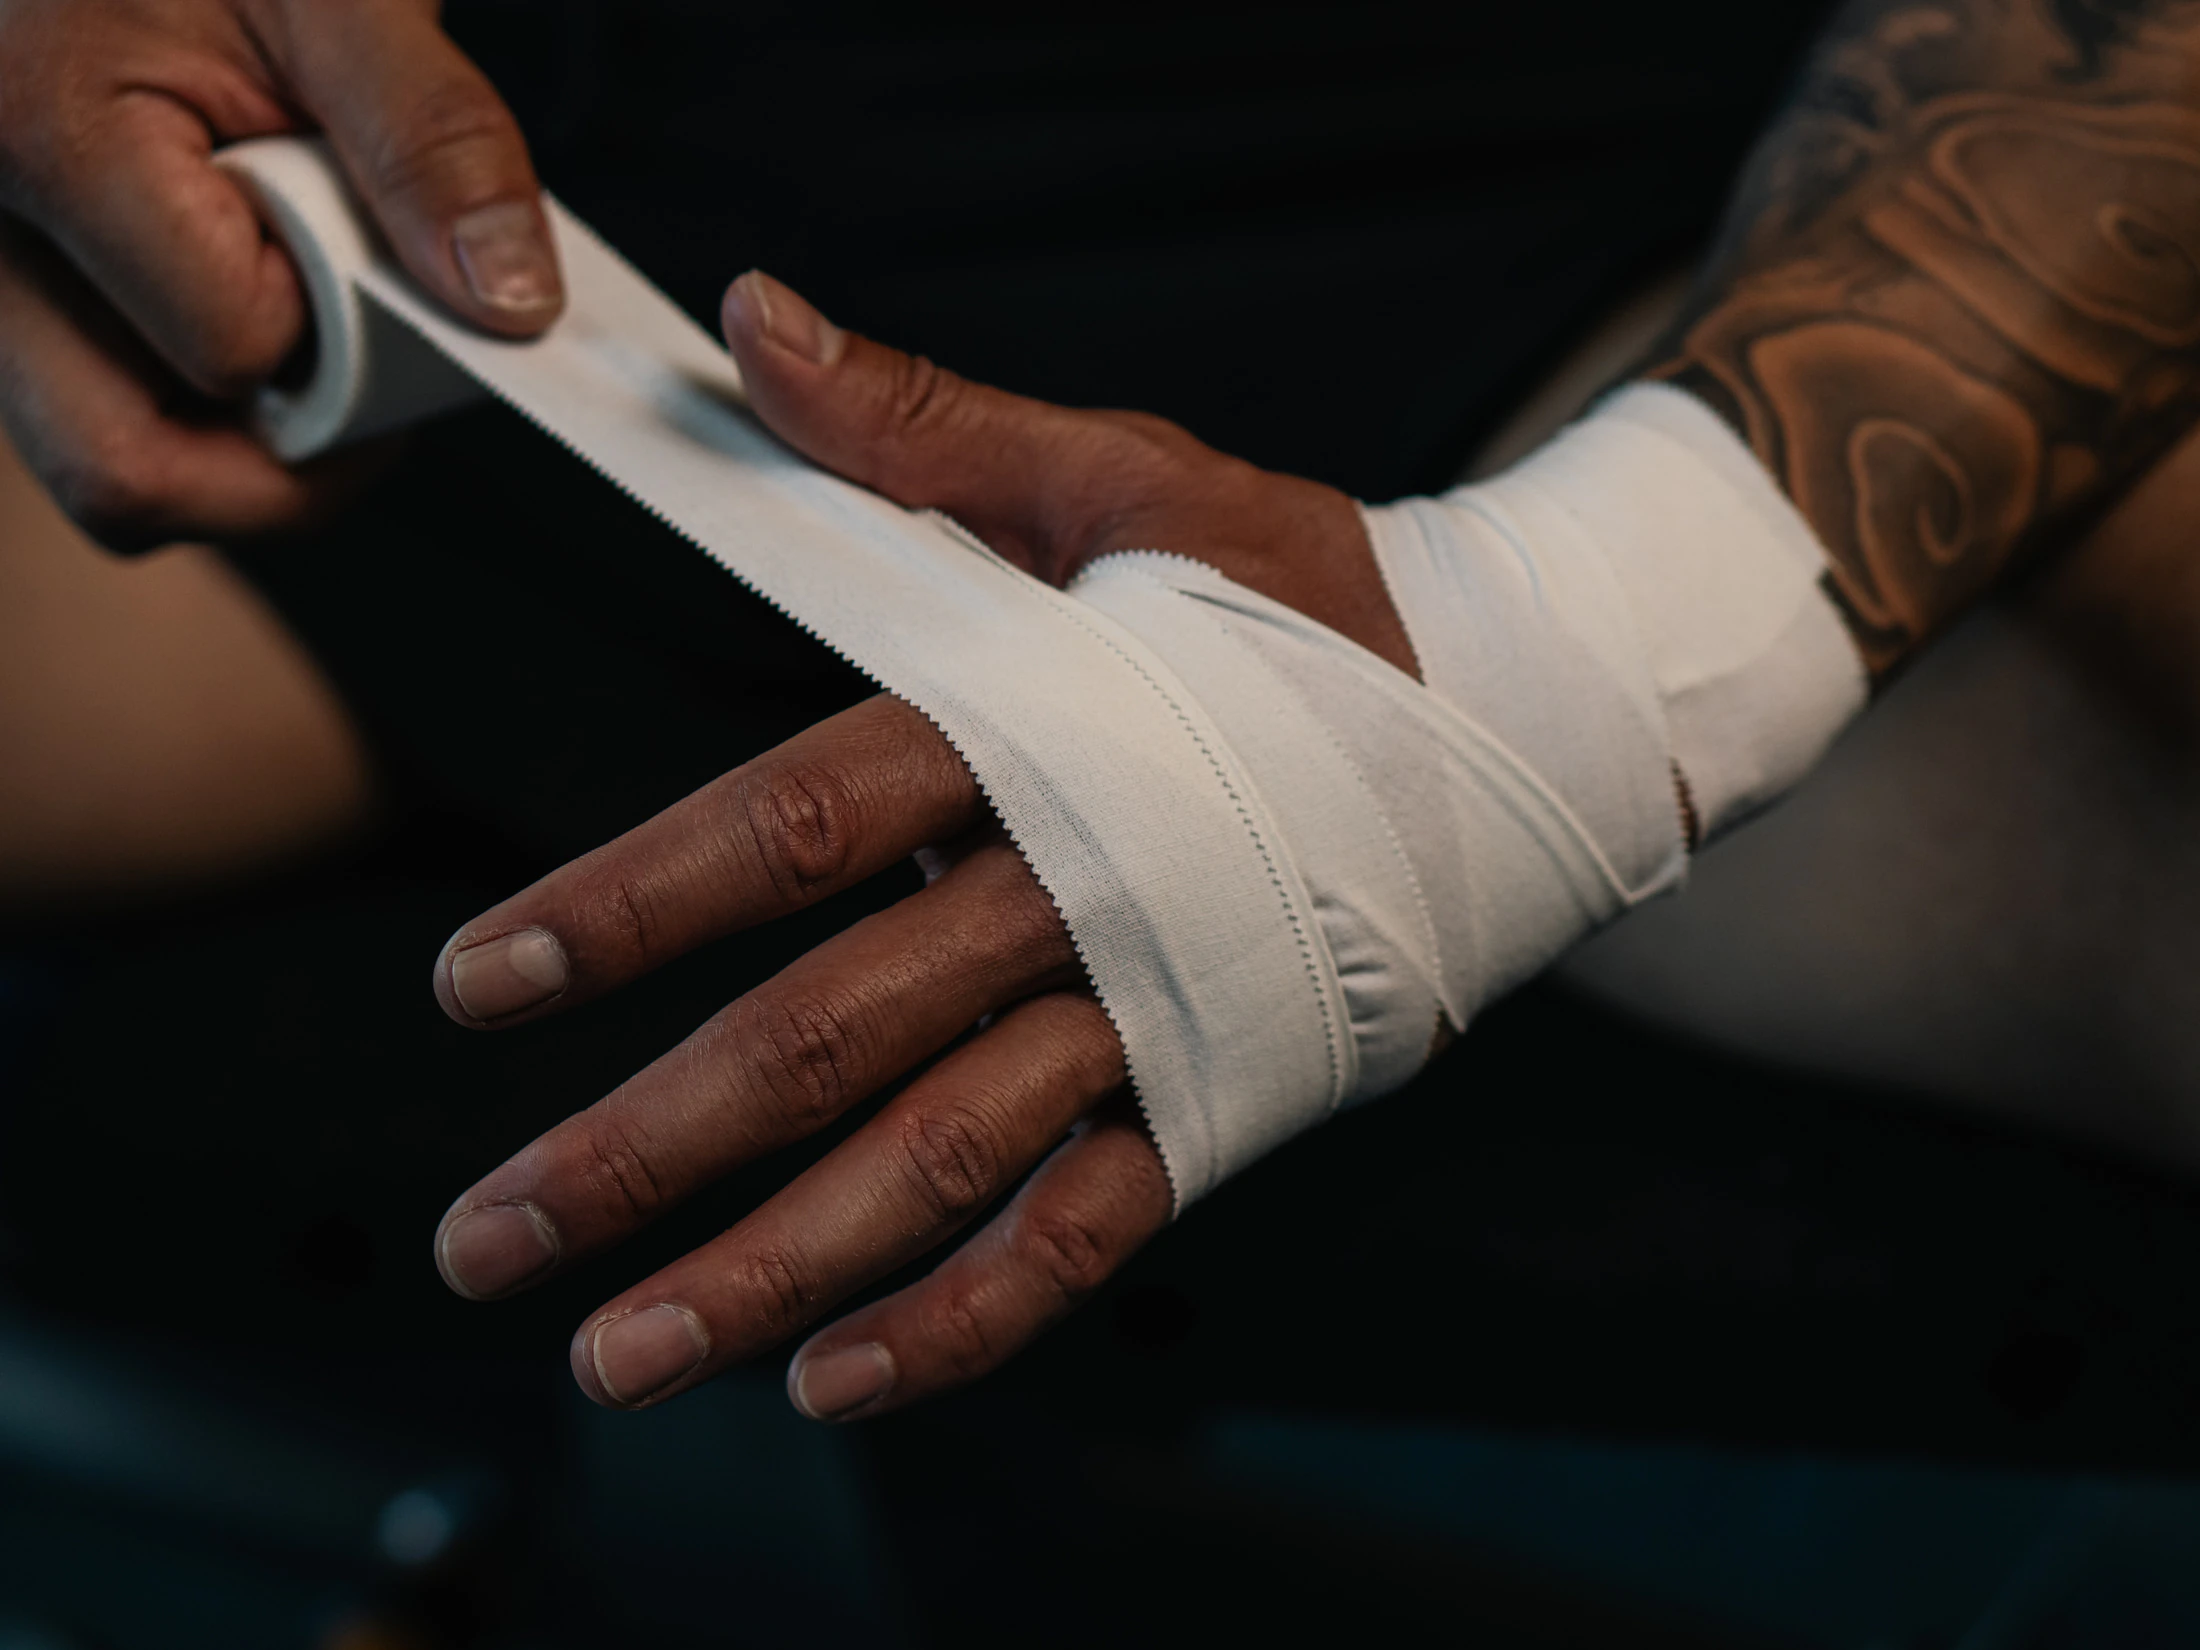
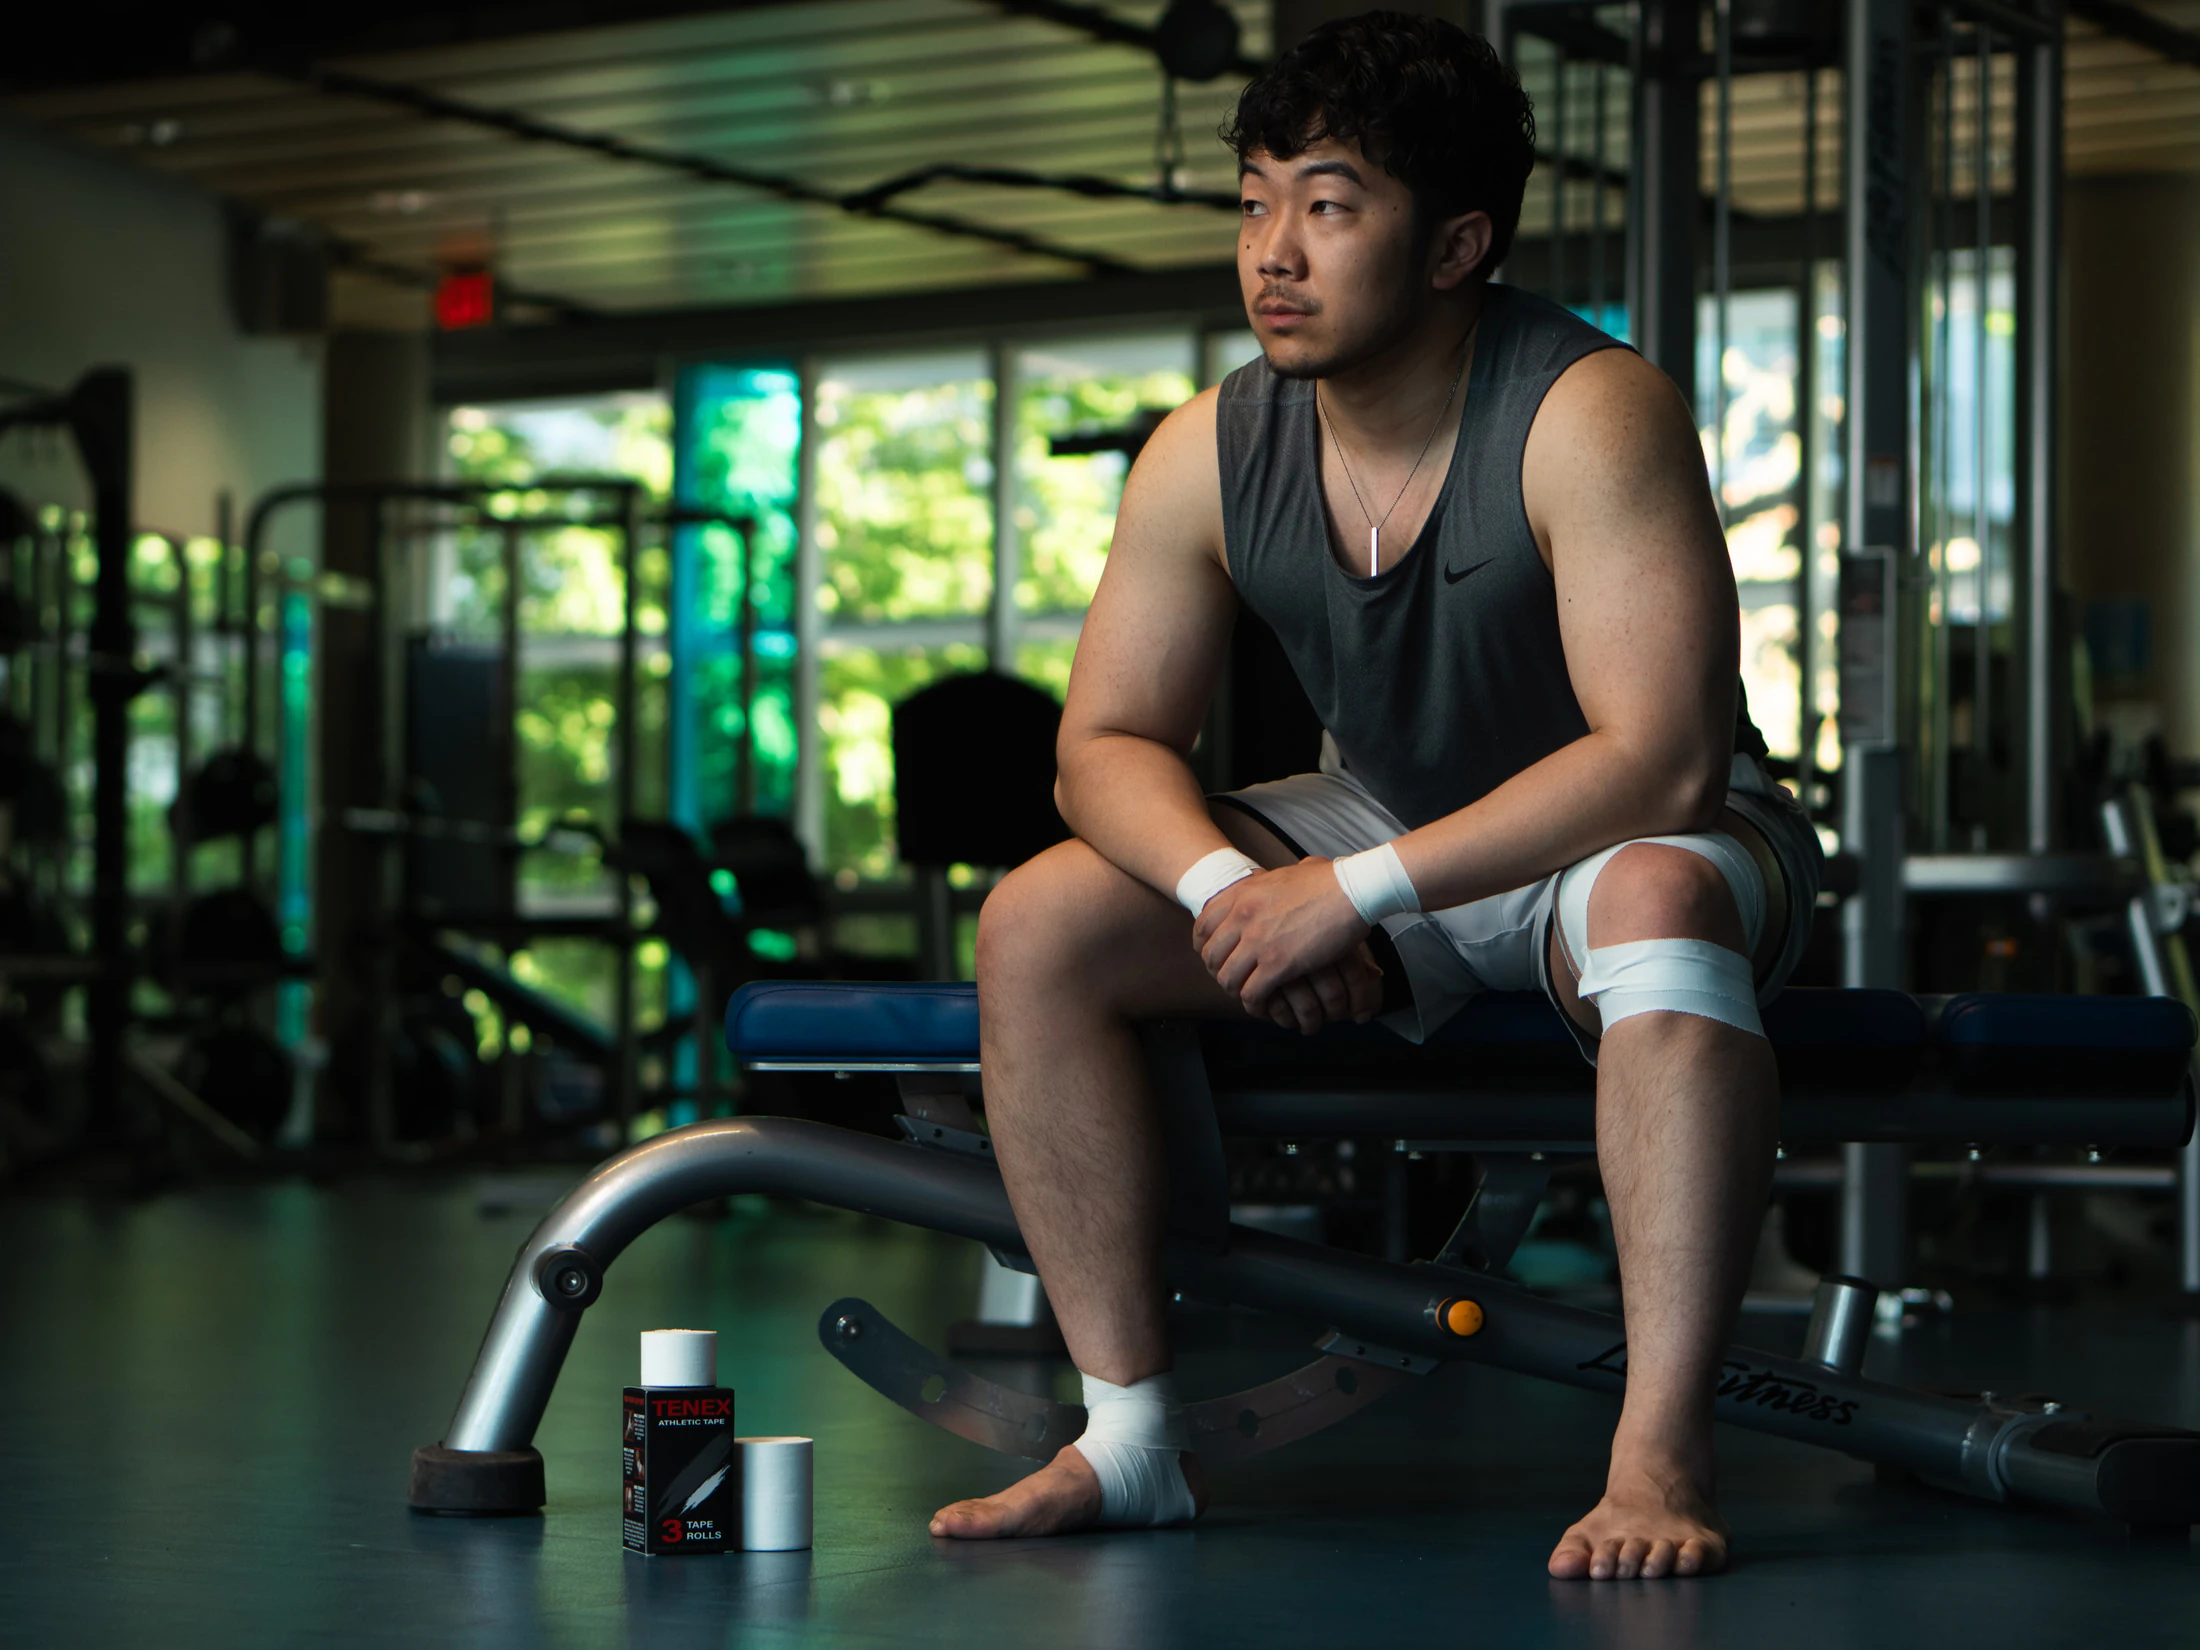
Before you start
- Skin clean and dry. Lotion, sweat or sunscreen will stop the adhesive gripping.
- Deal with hair. Rigid tape sticks to hair. Shave the area or run a layer of pre-wrap underneath.
- Never tape over broken skin, blisters or an open wound.
- Snug, not tight. Tape supports a joint by limiting how far it travels, not by squeezing it.
- Circulation check, every time. Move the joint and look at the fingers or toes beyond the wrap. Numbness, pins and needles, cold skin or a change in colour means it is too tight. Take it off and redo it looser.
Tearing the tape
Rigid cotton tape does not tear like paper. Most people fight it the first few times because they pull it straight apart. The trick is a shearing motion, not a pulling one.
- Hold close to the roll, thumbs and index fingers almost touching, about a centimetre apart. The more tape between your hands, the more it stretches.
- Start at the edge. Line your grip up with one of the notches in the zigzag.
- Shear, do not pull. Push one hand forward and pull the other back at the same time, quickly, as if snapping a twig.
- If it will not go, your hands are too far apart. Move them closer and go faster. Scissors are fine too.
Ankle
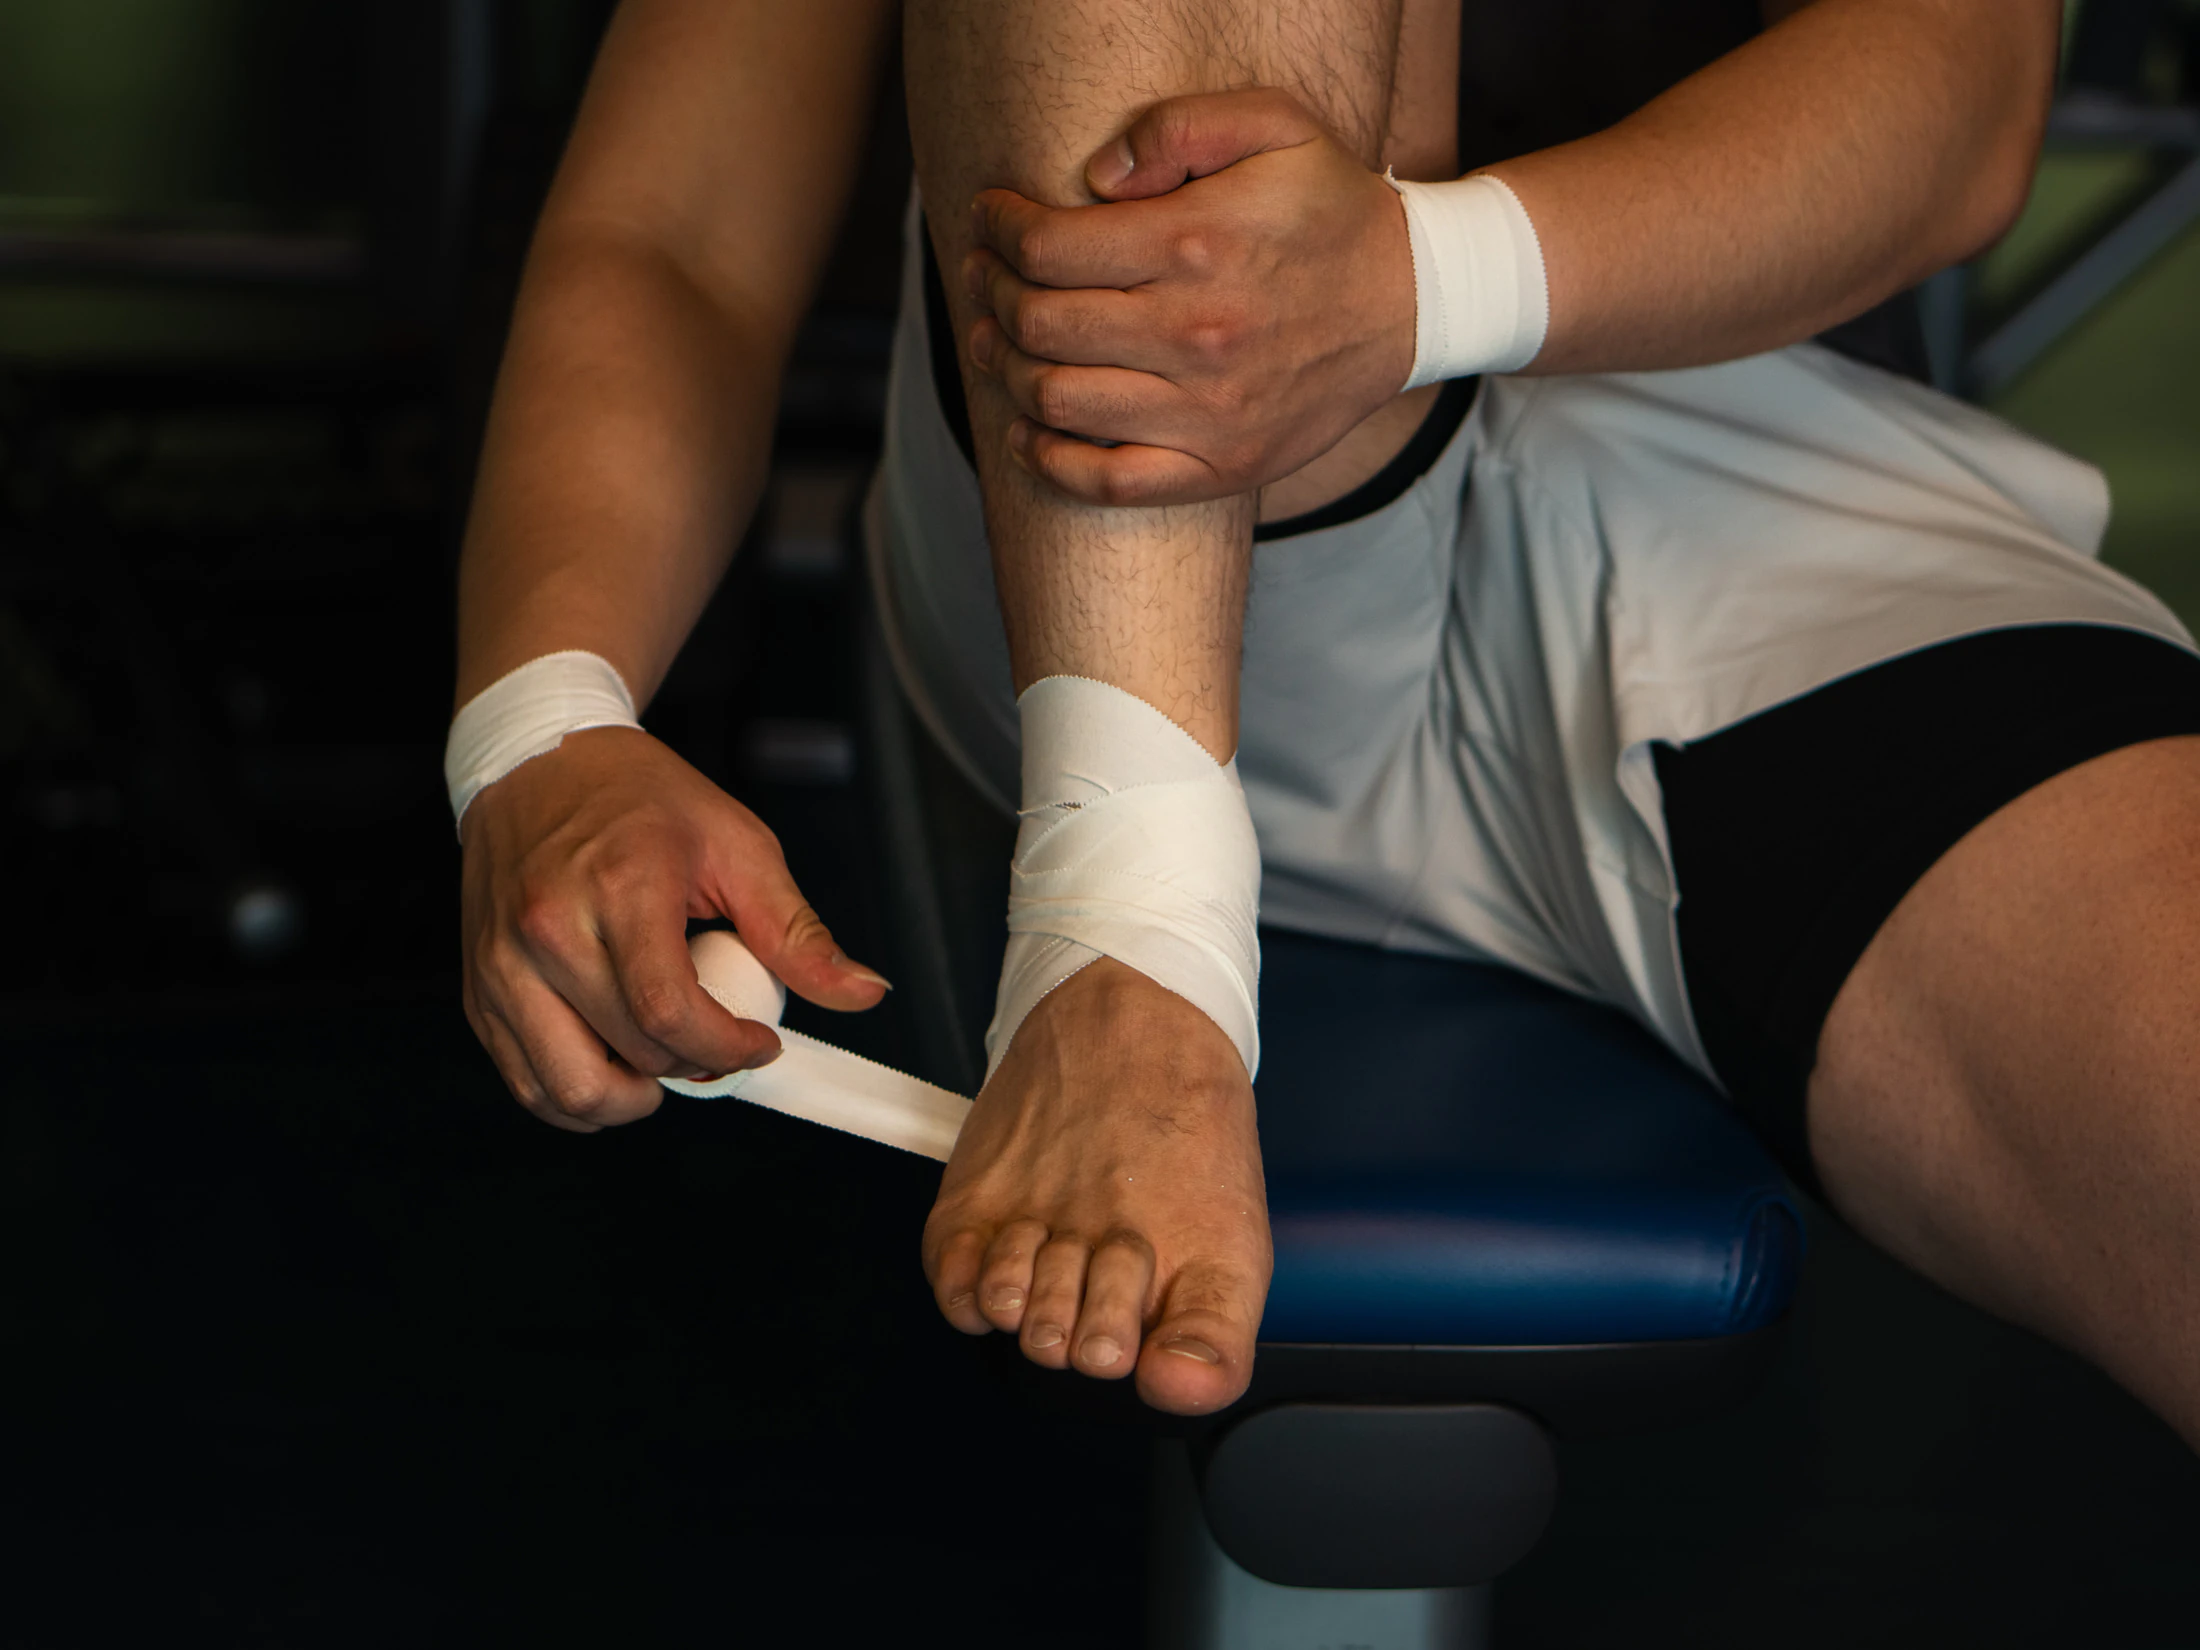
Volleyball, basketball, court sports. The classic wrap limits how far the ankle can roll inward. Keep the foot at ninety degrees to the shin throughout.
- Anchor. One strip around the lower leg, roughly a hand's width above the ankle bone. Lay it on, do not stretch it.
- Stirrups. Start inside the anchor, run down the inside of the ankle, under the heel and up the outside, pulling gently upward. Three stirrups, each overlapping the last by about half.
- Figure of eight. From the top of the foot, across the instep, under the arch, back up the other side and around the ankle. Two of these.
- Heel locks. Angle a strip from the inside of the ankle down across the heel, around the back and up the other side. One in each direction.
- Close it. Overlapping strips from the foot upward until the edges are sealed and nothing can peel.
Wrist
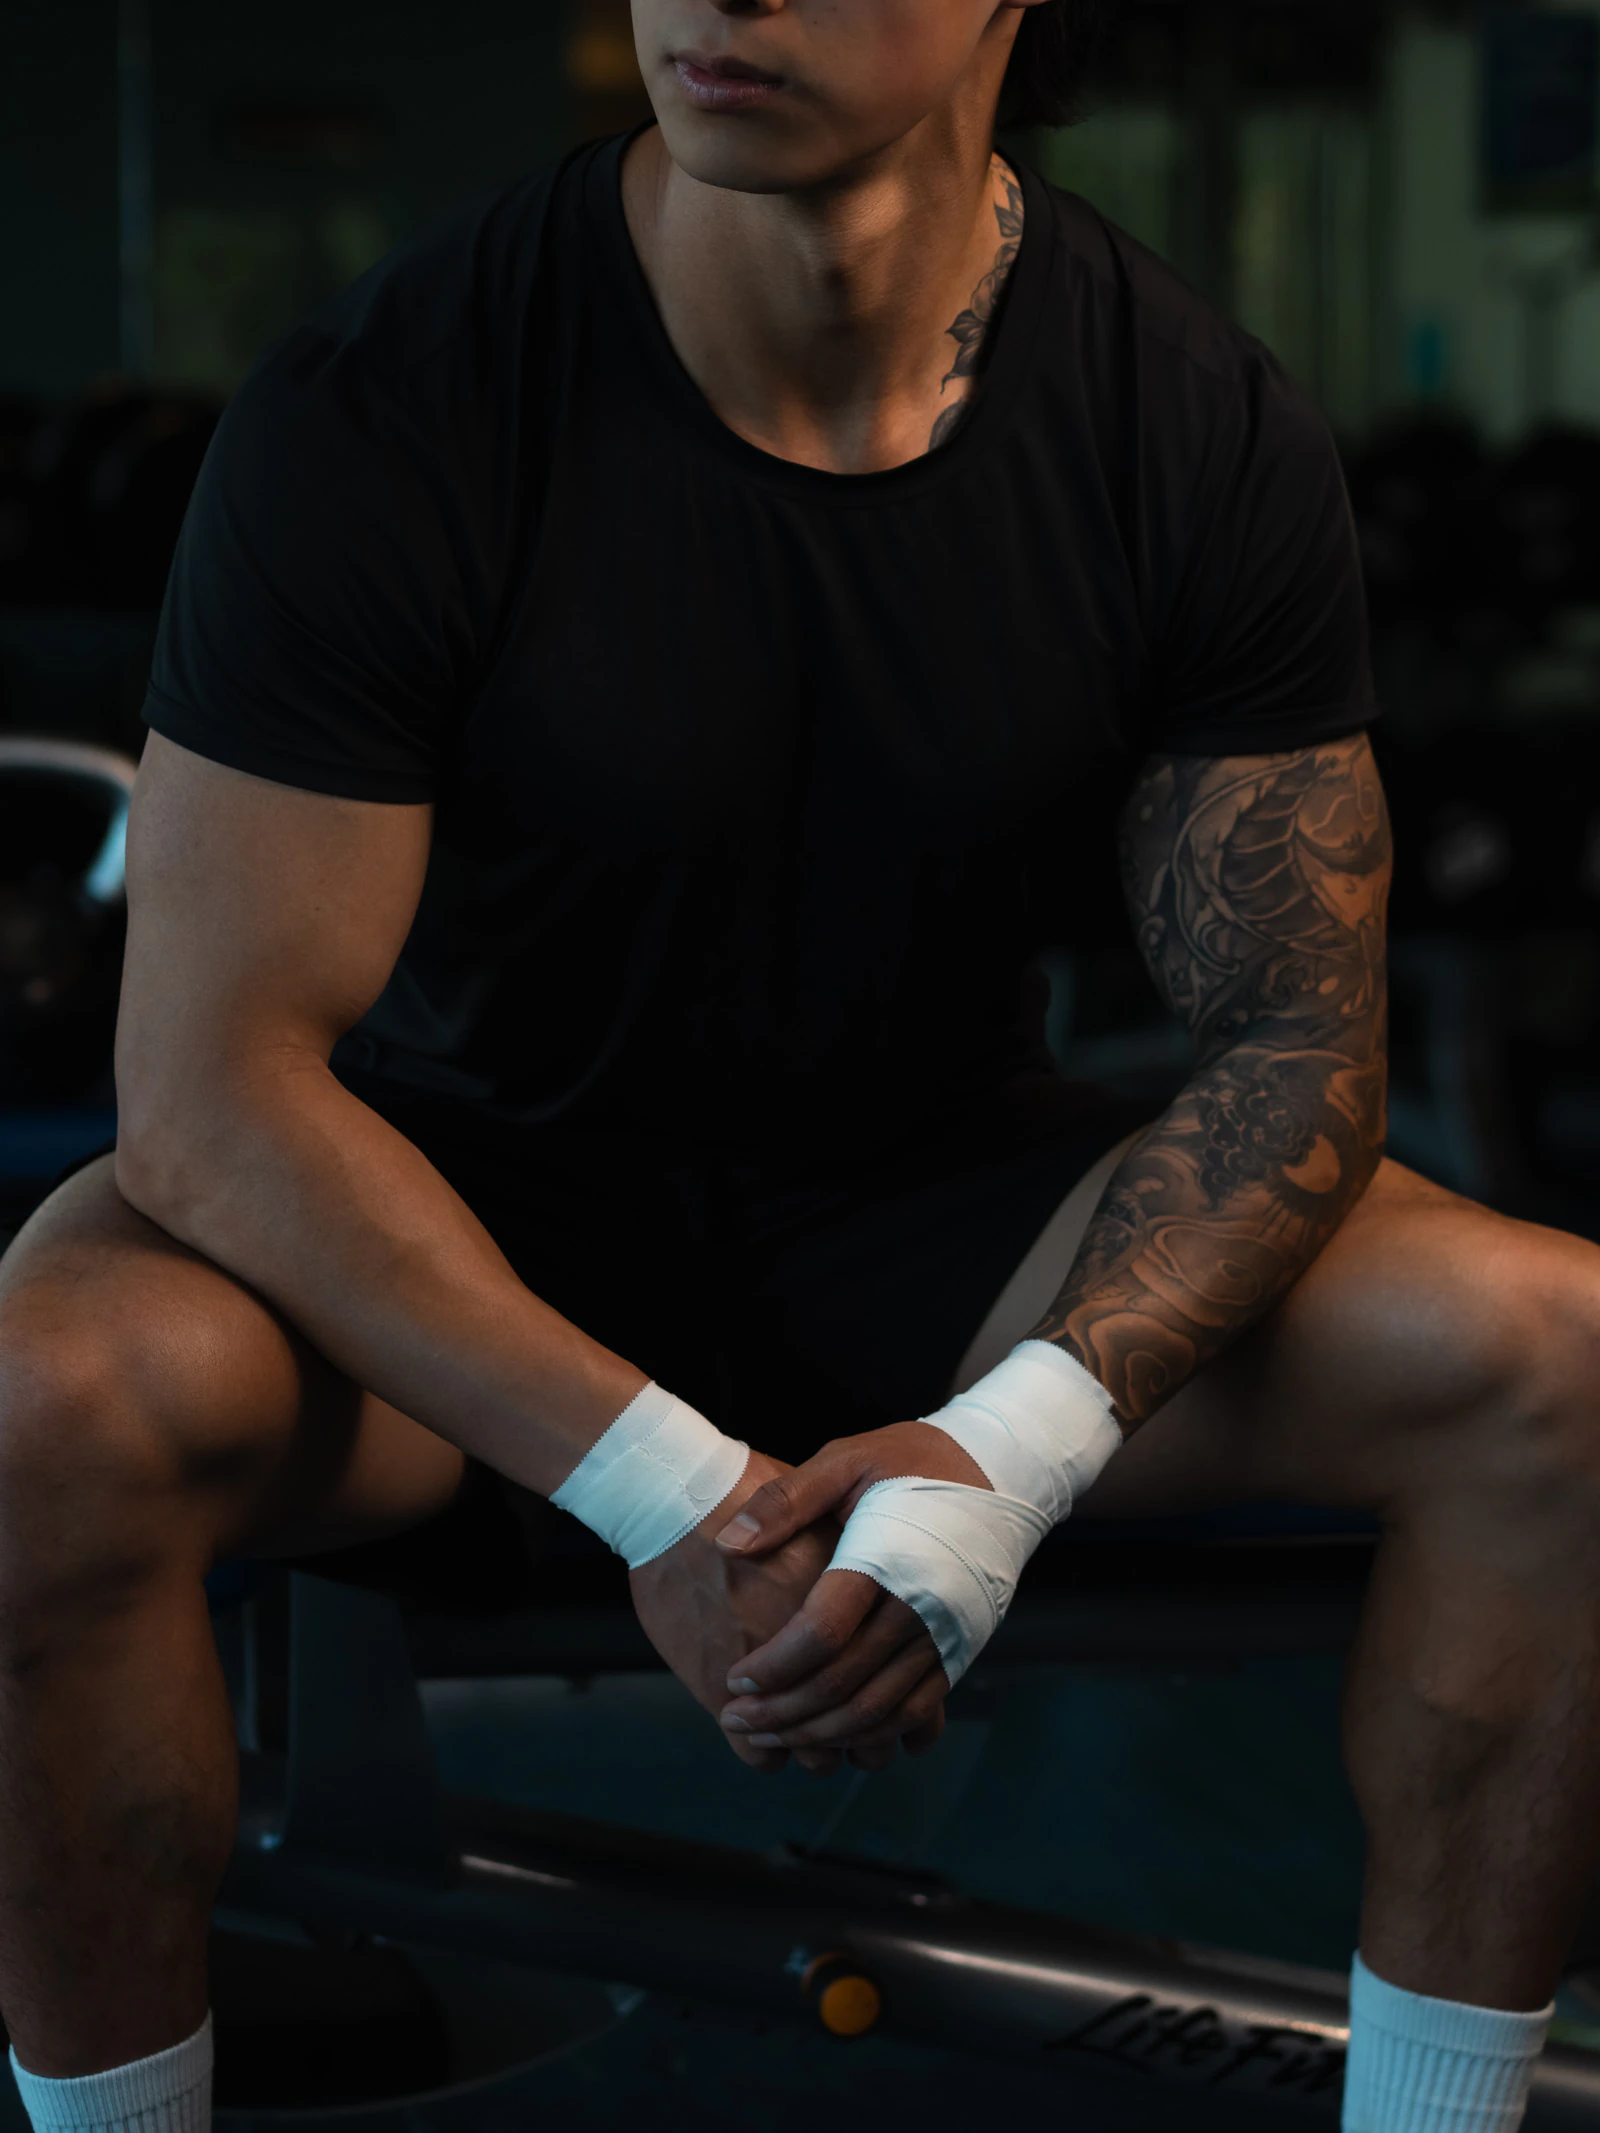
Weightlifting, gymnastics, boxing. Limits how far the wrist bends backward under load, the position you feel when pressing, catching a bar or landing on a hand.
- Anchor. Two or three turns around the wrist, just below the bony knob. Firm and even, no gaps.
- Figure of eight. From the back of the wrist, diagonally across the back of the hand, through the web between thumb and index finger, back across the palm and around the wrist. Two or three passes.
- Lock it. One more turn around the wrist, over the top of the diagonals.
- Make a fist and bend the wrist. You should feel a firm stop before the end of the range, not a block on all movement.
Thumb
Volleyball, skiing, ball sports. Supports the thumb against being bent backward and away from the hand.
- Anchor. Two turns around the wrist.
- Up and around. From the anchor on the thumb side, run tape up along the thumb, around it just below the top knuckle, and back down to the wrist. It should sit against the skin without gripping.
- Repeat, fanning slightly. Two or three passes, each fanned a little so they cover the joint from slightly different angles.
- Lock it. Finish with a turn around the wrist.
Fingers
Volleyball, climbing, BJJ. Both jobs here want a narrower strip than the roll gives you, so split the tape lengthwise or cut it in half.
- Buddy taping. Tape the sore finger to the one beside it, choosing the neighbour that makes the hand feel most stable.
- Above and below, never over. One wrap above the middle knuckle and one below it. Leave the knuckle free so the finger can still bend.
- Two turns each, light. Fingers swell. A wrap that felt fine in the warm-up can be too tight by the second set.
- Joint support for blocking. Two or three turns of a narrow strip around the middle joint, or an X across the front of it. Enough to remind the joint where its limit is, not enough to stop it closing.
Hook grip
Olympic lifting, CrossFit, Hyrox. Hook grip traps the thumb under the fingers against the bar, and it is hard on the thumb until the skin toughens up.
- Narrow strip. Split the roll lengthwise. A full width is too bulky and you lose the feel of the bar.
- Cover the pressure point. Two or three layers around the thumb where the bar sits, from the base of the nail down toward the first joint.
- Keep it thin. The aim is to spread the pressure, not to pad it.
- Check the bend. The thumb still has to hook. If the tape stops it curling, you have used too much.
Taking it off
- Slowly, and back on itself. Peel against the tape's own direction, staying close to the skin.
- Support the skin. Press down just ahead of the peel with your other hand.
- Do not rip it off fast. Speed is what takes hair and skin with it.
- Warm water helps if the adhesive is stubborn. So does taking it off in the shower.
- One use per strip. Once it has been on and stretched, it will not hold the same way again.